When repairing garage doors and garage door openers we run across many smaller issues that are really
not garage door function issues, but one of the most common is the garage door opener light that
stopped working. In many cases it is as simple as replacing the light bulb, but other times it is a more
complicated issue.
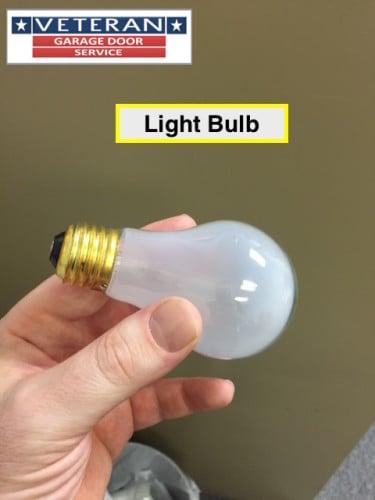
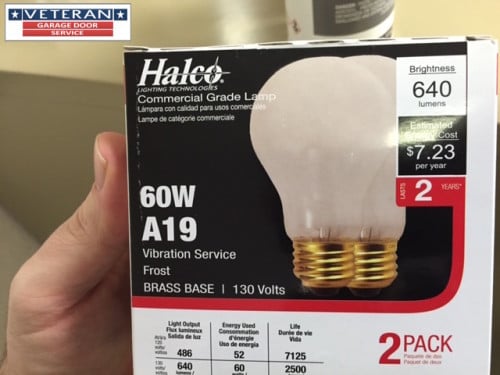
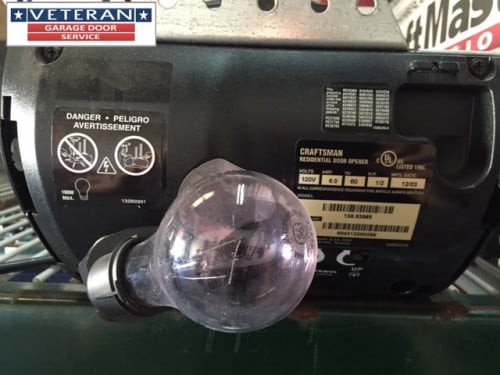
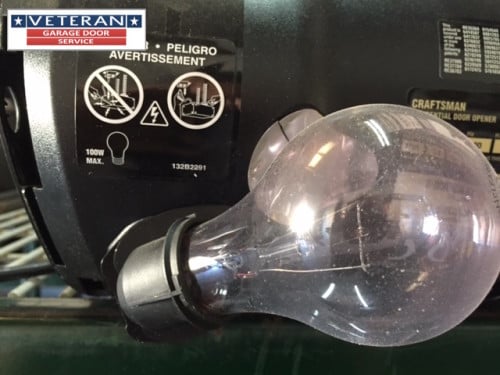
Sometimes this is caused by using the wrong wattage bulb, and replacing the light bulb with one of the
proper wattage will solve the problem. A sign that this could be the cause is when the light bulb works
when first installed but then burns out very quickly. Another obvious sign that the wrong wattage light
bulb is being used is when you see signs of melting or burning to the plastic around the light bulb socket,
the light covers or the plastic opener housing. Melting and burning of the plastic should not occur if the
right wattage of light bulb is being used. Using the wrong wattage bulb will not only damage your garage
door opener, but it is also a fire hazard to your home. I have also found that some of the newer style
bulbs will not work in older garage door openers and some people believe these new style bulbs can
actually interfere with the transmitter and receiver causing the opener remotes to not work properly. I
have not been able to determine yet if this really occurs, but it has been reported in some cases. I
believe more research is needed to confirm any link between malfunctioning remotes and the new style
light bulbs, but it is a theory going around.
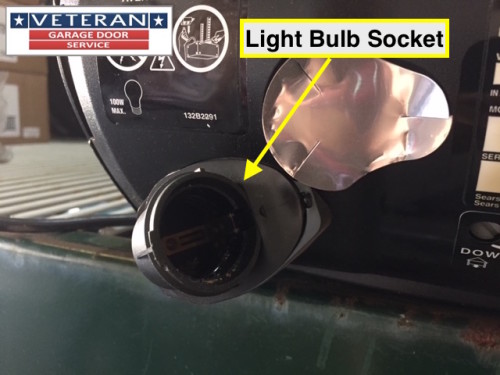
Sometimes we find a broken light bulb base is causing the light to not function. This could be the base of
the bulb itself is broken off in the bulb socket, or the bulb socket itself being broken. If the light bulb
base is broken and you cannot remove it from the light bulb socket, then I would first unplug the garage
door opener from any power source including disconnecting the battery backup if one is present. Next
you can try to unscrew the light bulb base from the socket, but this may not be possible and you must
be careful not to cut your hands on the broken bulb. In many instances, with the unit disconnected from
all power sources I use a pair of nettle nose pliers to unscrew the light bulb base from the light bulb
socket being careful not to damage the light bulb socket. Once the bulb is removed, I install a new light
bulb of the proper size and wattage and reconnect power to test the bulb. If the light bulb socket itself is
damaged, then there is no simple repair as the socket base is connected to the garage door housing and
in some cases directly to the logic board for the opener. If the socket base is not a part of the logic
board, you may be able to order a new cover that will include the light bulb socket base. If this part is
available you will be able to remove the old cover and disconnect the wires for the light bulb base(s) and
install the new one. Do not attempt this repair without unplugging the opener from all power sources
including the battery back if present. Care must also be taken not to damage any of the circuitry on the
logic board for the garage door opener. If the light bulb socket is a part of the logic board, the only
option would be to replace the logic board and the light bulb socket unit.
In some case the light bulb socket will stop working when the logic board for the opener has failed or is
failing. In this situation, the only option is to replace the logic board or the entire garage door opener.
Another common cause of light bulb failure I have found is that the brass tab in the bottom of the light
bulb socket has been bent down too far and is not making contact and completing the electric circuit.
This is an easy fix, but caution must be used. First disconnect the garage door opener from all power
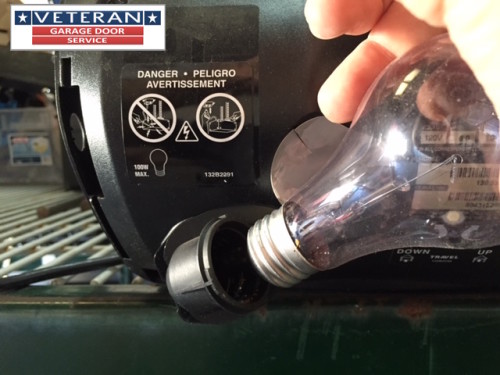
sources including the battery backup if present. Next unscrew the light bulb from the socket. Using your
finger or a small screw driver gently pull the brass tab up very slightly. Feel with your finger to make sure
the tab is not touching the bottom of the socket as this will cause a break in the circuit and the bulb will
not work. Finally screw the light bulb back into the socket, do not over tighten the bulb, and reconnect
the opener to the power source. In many case the bulb will start working again as the cause was the tab
was not making a connection and completing the circuit allowing the light bulb to work. I have seen this
is older openers, but I have also seen this problem in brand new openers that I have just installed. I
always check this first, unless I can see a more obvious cause for the light bulb not working. This is
simple to check and correct if this is the cause of the light bulb not working.
When replacing the light bulbs in your garage door opener always check to make sure you are using the
proper wattage bulb. Using the proper wattage bulb will prevent the heat from the light bulb from
damaging the garage door opener and form possibly causing a fire in your home.
3/5 - (1 vote)

