
Type 1
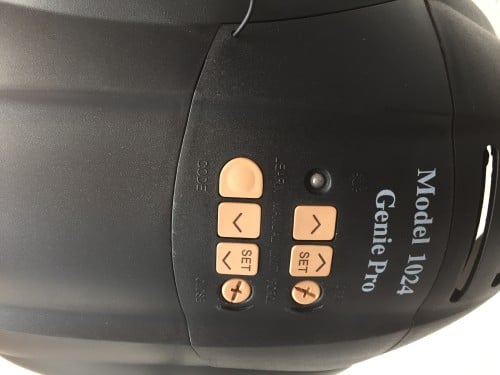
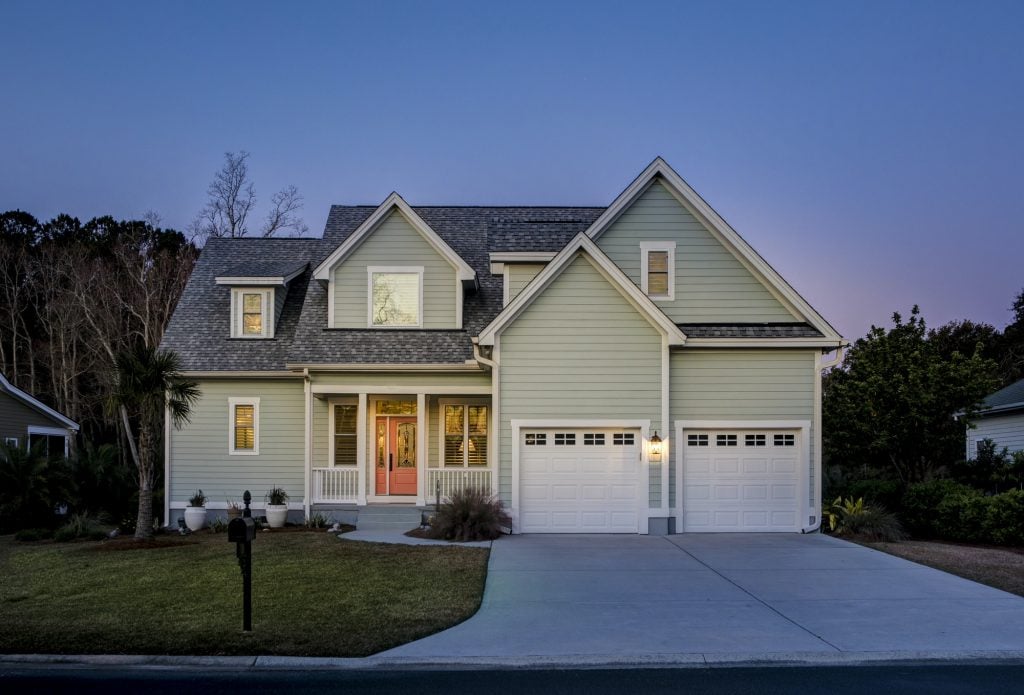
Programming Genie IntelliG, TriloG, GPower and RelaiG 850/650 Models
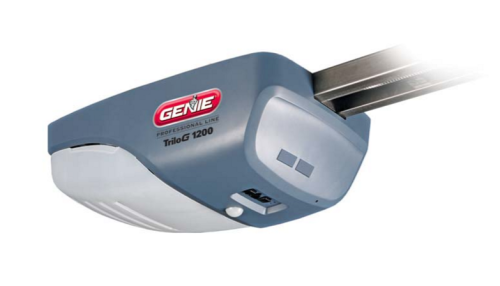
Travel and Force Limits
You will need to locate the Program button and the Down (-) button and Up (+) buttons located in the
bottom of the Genie garage door opener.
Setting the Down/Closed Limits
1. Start with the garage door open.
2. Press and hold the Down(-) button for 2 seconds, the long LED comes on blue.(the round LED
stays off)
3. Release the Down (-) button and the long LED will flash blue.
4. Press and hold the Down (-) button until the garage door reaches your desired down/closed
position. You may use both the Down (-) and Up (+) buttons for adjustment.
5. When the garage door is in the desired down/closed position, press and release the
Program/Set button. (both the long and round LED’s will blink and go off. The down travel limit
is now set.
Setting the Up/Open Limits
1. Start with the garage door closed.
2. Press and hold the Up (+) button for 2 seconds, the long LED comes on blue. (the round LED
stays off)
3. Release the Up (+) button and the round LED will start flashing.
4. Press and hold the Up (+) button until the door reaches your desired fully open position. Watch
to make sure the carriage does not hit the powerhead causing damage to the unit. You may use
the Up (+) button and the Down (-) button for adjustment.
5. When the garage door is in the desired Up/Open position, press and release the Program/Set
button. (Both the long and round LED’s will blink and go off. The Up/Open travel limit is now set.
To set the force and speed limits, simply open and close the garage door using the Genie wall console.
This process is all that is needed to set force and speed limits.
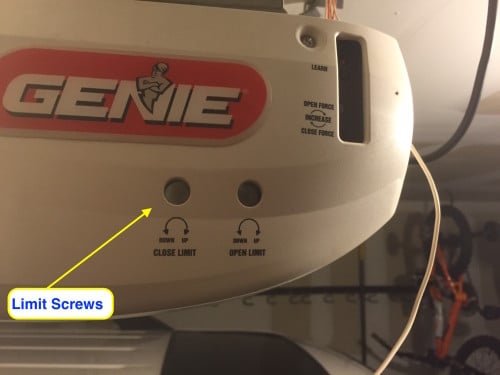
Type 2
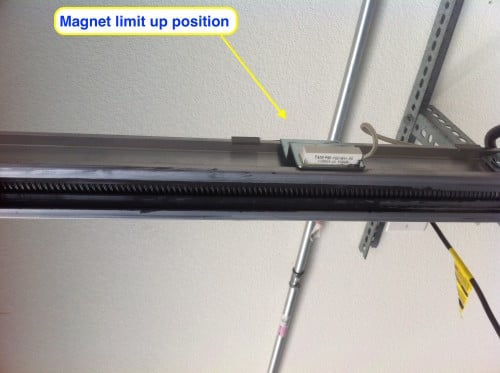
Setting Limits on Older Genie Garage Door Openers
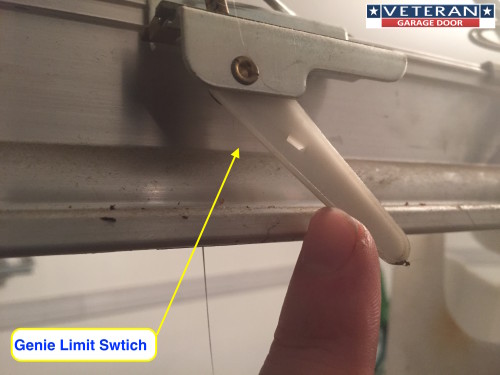
Older model Genie screw drive openers utilize limit switches that actually attach to the operator rails,
some have a lever that is about 2 1/2” inches long that stop the trolley when the trolley contacts the
lever and some have magnetic stops mounted to the operator rails. Adjusting these types of limit
switches requires the use of a screw drive or socket to loosen the set screw on the limit switch bracket.
The set screw only needs to be loosened enough to allow the bracket to slide on the rail. The limits are
manually set to allow the door to open and close to the desired position. There are two limits on these
model openers one to control the open limit and one to control the close limit. These adjustments are
very simple to make and can be done most DIY’ers.
The limits can be adjust simply by closing the door fully and setting the down limit switch at the fully
closed location and opening the door fully and setting the open limit switch at the fully open position.
Type 3