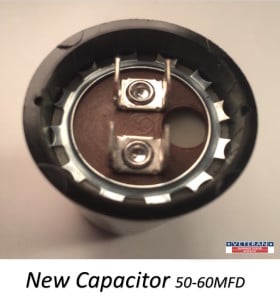
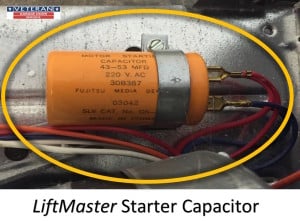
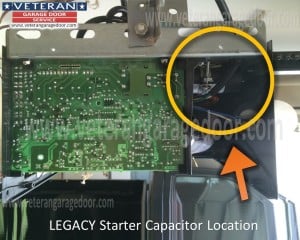
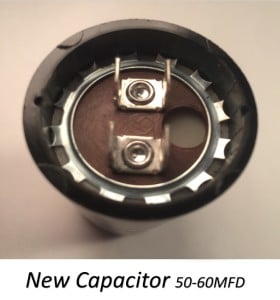
A garage door opener starter capacitor is a crucial part of the electric system in a garage door opener. If you look inside any electronic device you will find capacitors, they are long cylindrical shapes. The ones you will find on a garage door opener are from the same shape long and cylindrical, and are use to start the electric motor which operate the openers chain, screw or belt. The total job depends on your skills and on finding the right replacement part.
Step 1 – Garage Door Starter Capacitor Failure
When garage door opener capacitors fail, the door won’t have any motion when you press the start button. The common symptoms are humming or buzzing noise and possible smoke release inside the garage. Although the event can be scary for homeowners, do not panic if this happens to you because it is very common. A garage door capacitor failure is due to corrosion, excessive use, high temperature and high-energy currents. To avoid further issues, unplug the unit from the electric outlet, disengage the opener and close the door.
Step 2 – Call a professional or DIY
Consider if you want to do the job yourself since a replacement of a garage door starter capacitor require proper tools and knowledge. You can also call a garage door repair company to provide you with an estimate on a new garage door capacitor replacement.
Step 3 – Extract the old Garage Door starter capacitor
Reassure that the opener is unplug from the electric outlet and then remove the plastic cover from the opener. Look inside the garage door opener and locate the long cylinder capacitor with 4 wires coming out (It will be in either gray, black, yellow or blue). The capacitor usually held in place by a small setscrew – loosen a bit the screw to slide the capacitor and remove it. Don’t disconnect any wires; you must first identify what kind of capacitor you need. Garage door capacitors vary on size, color, capacitance and voltage. You can take a quick snapshot with your cell phone or write down all of the information written on the side of the capacitor. If it’s very hard to read the information printed on the capacitor then you might have to disconnect the wires and take it with you to make sure you install the right kind of the capacitor since there so many different kinds.
Step 4 – Find a new garage door starter capacitor
There are many different types of garage door starter capacitors, and the most common are:
Capacitor 50-60MFD (Genie)
Capacitor 53-64UF (Genie)
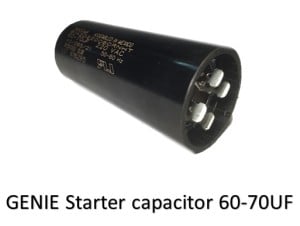
Capacitor 60-70UF (Genie)
Capacitor 70MFD (Genie)
Capacitor 43-53UF for 1/3 HP (Lift Master)
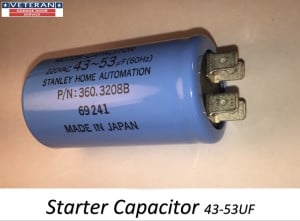
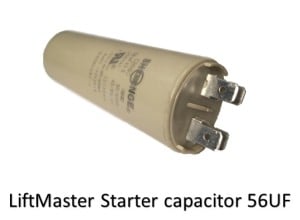
Capacitor 56UF for ¾ HP (Lift Master)
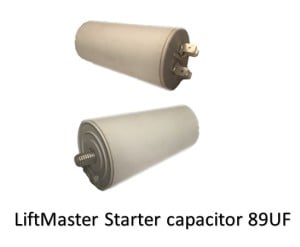
Capacitor 89UF for ¾ HP (Lift Master)
Hardware stores such as Home Depot, Ace or Lowe’s don’t sell starter capacitor, you will have to buy it online or in a near by garage door repair shop.
Step 5 – Install the new garage door starter capacitor
Once you have the correct capacitor, you will have to connect the wire in the new capacitor the same way they were in the old one. It doesn’t matter how you turn the capacitor but usually there are two different colors of wires – the top wire should be the same color and the bottom wires should be the opposite. If you turn a capacitor 180 degrees it won’t not matter where you put the wires just so as long as you have the same color wires on top and the opposite on the bottom. Some garage door openers will require two garage door starter capacitor so if you are replacing them, you should replace them both at the same time and avoid future worries.
Once you have wired the capacitor, you must now secure it by retightening the side screw that you loosened. If the capacitor is stable, you may now plug in the main power to the unit so you can check if the problem is resolved. Do not re-attach the opener cover until you are sure that the problem is resolved and the garage door opener works.
Even though you have never done anything like this repair, it should not take you any more than two to three hours. It can also be dangerous if you do not unplug the opener unit before you attempt replacing the capacitor.
If you replace the capacitor and it does not rectify the problem with your opener than it is another issue that needs to be address. Also if the capacitor does not look like it has a problem like corrosion or it is leaking insulation then that does not mean that the capacitor is not bad but when diagnosing a garage door opener a capacitor it’s a good place to start your diagnosis. And remember to ALWAYS unplug your garage door opener when you are attempting to repair any kind of malfunctions in your garage door opener because a garage door unit that is plug into a power source can easily shock you.
If you find that you have replaced parts of the opener but still the problem wasn’t fixed so it might be time to replace the unit. This mean that possibility of the electric motor going bad is strong and you should check with a local garage door repair company what are the options for a new garage door opener.


