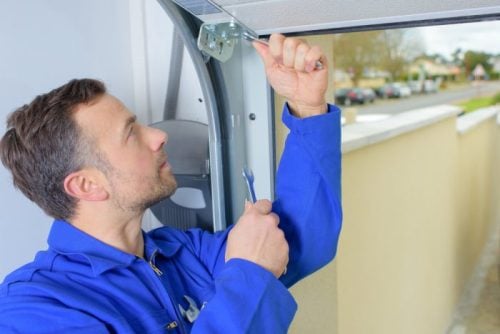
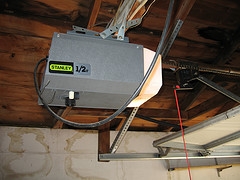
If you are experiencing issues with your garage door not closing properly, it may be due to a problem with the leveling of the door. Leveling a garage door is an essential maintenance task that should be performed regularly to ensure that the door functions correctly and safely. When the bottom of the garage door is not level, it can create various issues, including uneven wear and tear on the door, the strain on the opener mechanism, and gaps that can let in weather, pests, and intruders.
Fortunately, leveling garage doors is a relatively simple process that can be completed with a few tools and some basic DIY skills. In this guide, we will show you step-by-step how to level a garage door, troubleshoot common problems, and maintain your garage door to prevent future issues.
Step 1: Inspect the Tracks
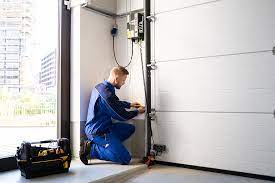
Before you start leveling your garage door, check the tracks on each side of the door, it will be worth it. Look out for any damage like cracks, dents, or bends. If you spot anything that looks off, you will need to swap out those damaged parts before you can start the leveling process
You shouldn’t cut corners here. It’s essential that the tracks are in tip-top shape to ensure your garage door operates smoothly and doesn’t get stuck or go off the rails. Plus, if you ignore damage to the tracks, you might end up having to replace the whole garage door, which will not be cheap. So, take your time inspecting those tracks and make sure they’re good to go before we move on to the next step.
Step 2: Measure the Level of the Door
To make sure your garage door is straight, you can use a level to check it out. Grab your level and put it on the door. Check the bubble in the middle of the level to see if it is perfectly centered. If it is, then your door is all good! But, if that bubble is off to one side, then you have to make some adjustments. Don’t worry, it’s not too hard to fix. Just take note of which way the bubble is leaning and make some tweaks to the door until that little circle is right in the middle where it belongs. With a bit of tinkering, you’ll have that door hanging straight in no time.
To make the process even easier, you can use a laser level. This type of level projects a laser beam to show you exactly where the door needs to be adjusted. Once you’ve identified which direction the door needs to move, you can make the necessary adjustments by tightening or loosening the screws on the hinges or the track.
Step 3: Adjust the Door
Now it is time to adjust your garage door. First things first, grab a socket wrench and start loosening those bolts on the brackets that hold the tracks to the wall. Don’t remove them altogether, just give them a little wiggle room. Now, the fun part – gently nudge the tracks either in or out until the door is nice and level. If you need a little extra help, grab a rubber mallet and give those tracks a tap in the right direction. Following this step, your garage door should now be back in tip-top shape. Just remember to tighten those bolts back up once you’re done.
Step 4: Check the Door’s Balance
Now that you have finally fixed that pesky garage door that’s been giving you a headache for days, it’s time to check its balance.
First off, disconnect the garage door opener, so you don’t mess up the settings you just fixed. Next, manually lift the door to its halfway point, let go of the door and see if it stays put. If it does, great job, you’re all set! But if it falls or rises, it means the balance is off, and you need to adjust the tension on the springs. Trust us, you don’t want a lopsided garage door that could potentially fall on you. So, take the time to make sure it’s balanced and safe for everyone.
Step 5: Adjust the Tension on the Springs
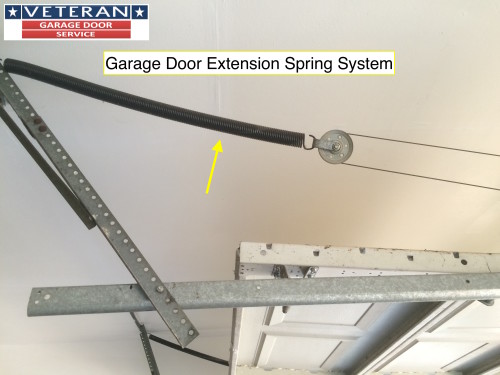
The last and most crucial step is adjusting the tension on the springs. This bit is a little tricky, so you need to pay attention. First things first, you need to release the tension on the springs by pulling the safety release cord. Don’t even think about skipping this step, or you might end up injuring yourself pretty badly. Once you’ve got that sorted, it’s time to grab your trusty socket wrench and get to work.
Be sure to adjust the tension on the springs in small increments, and test the door after each adjustment to make sure it’s working properly. It’s important to note that this step can be pretty dangerous, so if you’re not feeling totally confident in your ability to handle it, don’t hesitate to call in professionals. Safety first, always!
All in all, leveling a garage door is not rocket science. It’s actually pretty easy and can be done by just about anyone. But, if you’re feeling a little unsure of yourself or just don’t want to risk making things worse, then it’s best to leave it to the professionals. I mean, why take chances when you can have someone who knows exactly what they’re doing take care of it for you, right?
That’s where Veterans Garage Door comes in. We are professionals when it comes to anything garage door-related. We have got the skills, knowledge, and tools to get your garage door back in tip-top shape. And the best part is that we won’t charge you an arm and a leg for the services.
Just remember, having a garage door that’s level is super important. Not only does it make your life easier, but it’s also crucial for everyone’s safety. So, if you need your garage door level, don’t hesitate to give us a call. We will take care of you, no problem!
Veteran Garage Door Repair
3415 Custer Rd #103
Plano, TX
75023
(972) 432-5695


